Wallpaper– the perfect solution for adding pattern, color, and character to your room. However, trends come and go and you may be left with walls leaving your rooms looking outdated.
Removing wallpaper is time-consuming and could leave you with damaged walls if not done properly.
Although frequently debated, like many DIY home projects, you can avoid the trouble and mess of removal by painting over the wallpaper. However, proper preparation is vital for successfully completing the job.
Painting over your wallpaper can save you a lot of time and effort and give you the much-needed makeover you are looking for. Paying attention to detail over the course of the project will yield great results.
However, it is important to know that if you do not spend time to prep properly, you may not achieve ideal results, and removing wallpaper that has been painted is significantly more difficult than if you were to remove it before painting.
Materials
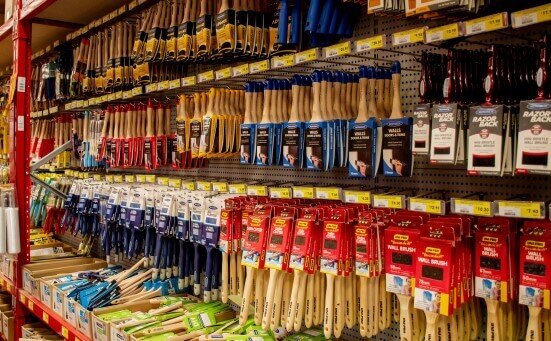
Before you begin, inspect the wallpaper and gather appropriate materials. Thorough prep work is essential for quality results. For this project you will need:
- Brushes and rollers (do not reuse a brush that has been in oil primer with latex paint)
- Drop cloth
- Drywall mud
- High-grit sandpaper or sanding block
- Mineral spirits (for cleaning oil primer)
- Oil-based primer
- Paint that you want visible on the walls (can be oil-based or latex paint)
- Paint trays
- Painters tape (optional)
- Respirator (optional)
- Spackle
- Thin putty knife
- Trisodium Phosphate (TSP) cleaner
Do Your Prep Work
Start by lightly wiping walls with trisodium phosphate (TSP) to clean them. This is especially important if you are painting a kitchen where more dirt and grease are present. TSP is a cleaner made specifically to use before painting.
Use a lightly damp cloth for cleaning. Remember, you don’t want to get the adhesive under the wallpaper wet, so do not saturate the walls.
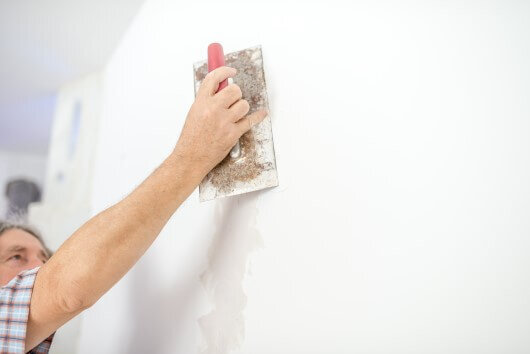
Remove Loose, Bubbling, Or Peeling Spots
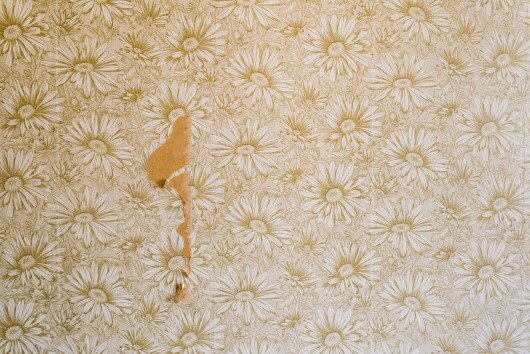
For damages in your wallpaper, it’s easiest to remove the areas with a thin putty knife, spackle as appropriate, and sand to create a smooth surface. Check the entire wall thoroughly. You don’t want to miss any spots.
Protect Molding and Trim
Depending on your skill set, using painters tape may be beneficial. Use it around any areas you want to protect such as crown molding, trim, doors, and windows. Clean lines will give your walls a professional look.
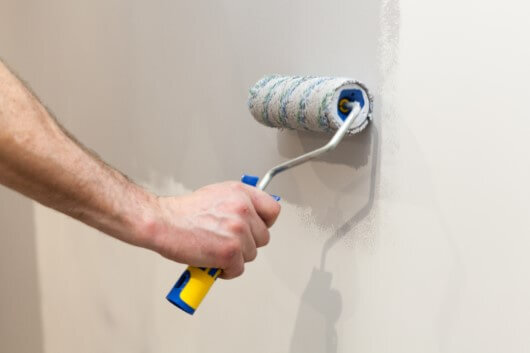
Use Oil-Based Primer
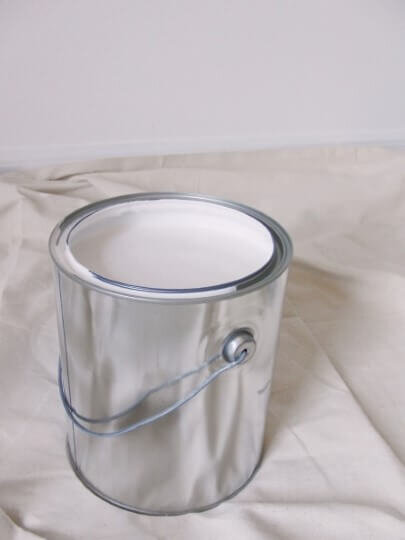
Using an oil-based primer is not optional. They help seal the wallpaper adhesive and keep water out. This allows you to use any latex paint over it. We recommend KILZ Original Oil-Based Primer.
Latex primers and paints, on the other hand, are water-based which will soak into the wallpaper and cause peeling. Improper priming by using a water-based primer will leave you having to remove the wallpaper, which will be more difficult with a coat of paint on it. Do not use a water or latex based primer.
Use a brush to paint around the trim, molding, and in corners. Then use a roller to fill in the entire wall. Be sure to follow the manufacturer’s instructions for application and drying time.
When cleaning up brushes, use mineral spirits to remove the excess paint, and only use those brushes for oil-based paint in the future.
Check The Seams
After applying and letting the oil-based primer dry completely, you’ll want to pay attention to the seams of the wallpaper. With a solid painted wall, seams will be significantly more noticeable than they were previously.
To fix this, you’ll need to apply drywall mud to any areas where there are seams and then sand it smooth. This is also the time to check for any other wall imperfections, like pin holes, spackle them, and sand smooth.
This step is purely cosmetic but worth the extra time and work. Any texture will be much more visible once your room is painted.
Start Painting
Once your seams are sanded smoothly, you can proceed with your paint project like you would if you were painting any wall. If you are painting a light color over a dark wallpaper pattern, you may need more coats than normal.
Be sure to check the manufacturer’s instructions and allow for the paint to completely dry before adding another coat.
A Note On Paint Sheen
Paint sheen refers to the amount of shine or luster in paint. Higher sheen paints are more durable but are more prone to showing existing blemishes, in this case, areas that you spackled.
Low-sheen paints are not as durable, but they will hide any wall texture much better. They also blend touch-ups well. The oil primer will also help with durability.
Clean Up
Clean-up for latex brushes is simple. Since the paint is water based, it can be washed easily with water alone. Remove painters tape, drop cloth, and store any leftover materials and tools.
Conclusion
Whether it’s one or multiple rooms with outdated wallpaper, you can transform the space without having to go through the hassle of removing the wallpaper with a few simple steps.
To sum it up, top tips for a successful project start by thoroughly preparing the walls by cleaning, and removing damaged areas. Use an oil based primer to avoid bubbling or damaging the wallpaper. Next, mud seams to hide texture, spackle any other areas, and sand smooth. Complete the project by using a paint of your choice, and finally, remove any painters tape that you may have used and clean up your supplies!