Caulking is a common maintenance task inside and outside of a home. It is a simple way to seal gaps around counters, doors, windows, bathtubs, sinks, and more. Whether you have big or small jobs, choosing the right caulk is important.
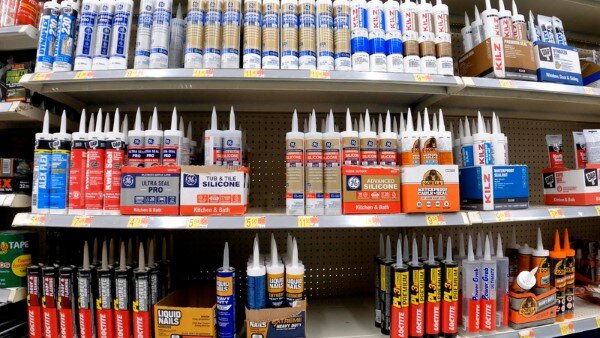
The caulk aisle in any hardware store can be overwhelming. Acrylic? Silicone? Paintable? What’s the difference?
What Is Caulk?
Caulk is a flexible material composed of latex and acrylic materials. It is great for sealing joints between two building materials and creating a clean seam.
Choosing Right Caulk
Choosing the right caulk for the job is important. Choosing a silicone caulk for trim makes for unsightly seams while choosing an acrylic caulk around plumbing could lead to leaks and water damage.
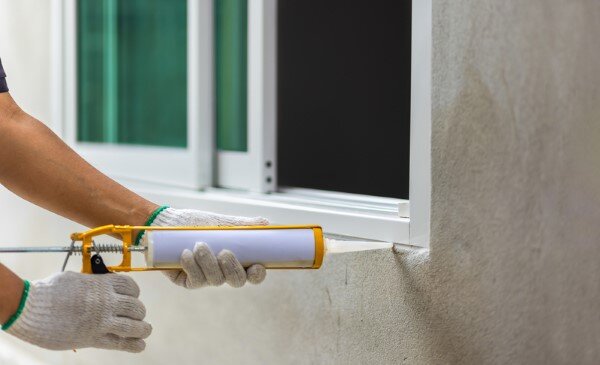
Caulks also have a temperature rating, something important to consider if you are caulking outdoors or in a garage. If you are using exterior caulk, make sure it is UV resistant to prevent yellowing. Caulk can also be paintable or unpaintable. Consider all factors of your project before purchasing.
Latex Caulk
Also called acrylic latex caulk, this type of caulk is very easy to use. Because it is a water based caulk, clean up is easy with a wet rag. It is also easy to shape and smooth after application.
Latex caulk is perfect for drywall and filling gaps between trim and crown molding. The biggest downside to this type of caulk is durability, in that they are generally not waterproof.
Silicone Caulk
Silicone and silicone blend caulks are commonly used where there is lots of moisture and waterproofing is necessary, like around bathtubs, showers, kitchen sinks, and backsplashes. It can also be used outside due to its broad temperature range and because it does not discolor under UV light.
Some of the drawbacks of silicone caulk are that it is not as user friendly as latex caulk. It can get messy and can be difficult to shape and clean. You’ll likely need mineral spirits to help with clean up.
With silicone caulk, it’s important to run a clean bead of caulk the first time for best results. Silicone caulk cannot be painted over, but comes in neutrals and clear.
Butyl Rubber Caulk

This type of caulk is made specifically for exterior use. It creates a water tight seal and can withstand extreme temperatures. It’s ideal for roof construction, siding, gutters, and cracks in asphalt.
Caulking Tools
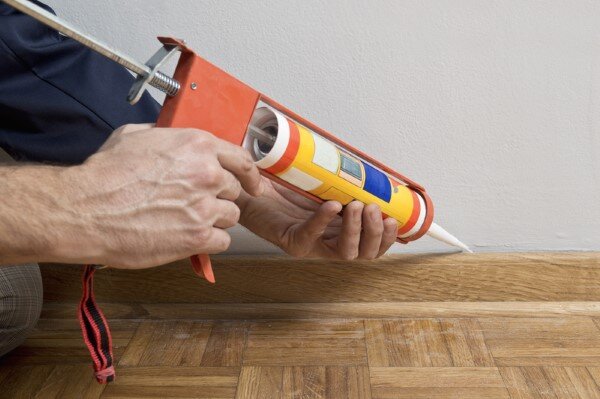
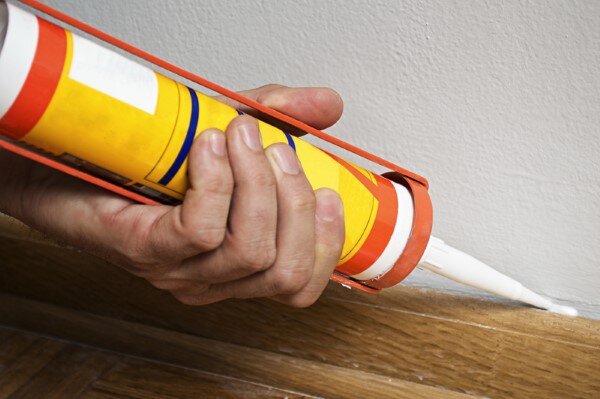
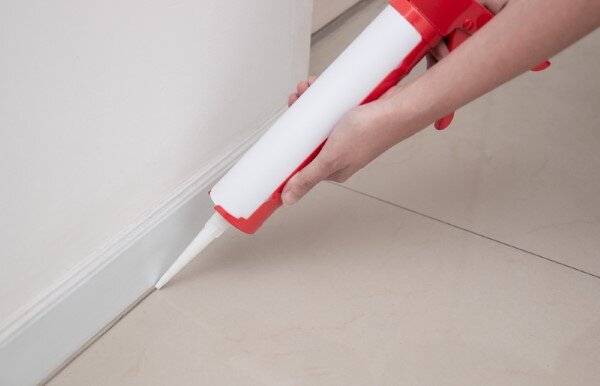
Caulking Guns – A caulk gun makes application easy, allowing for a steady and consistent flow. They’re affordable and will last years.
Caulk Strips – A caulk strip is an adhesive tape designed to be used instead of traditional caulk and boasts easier installation.
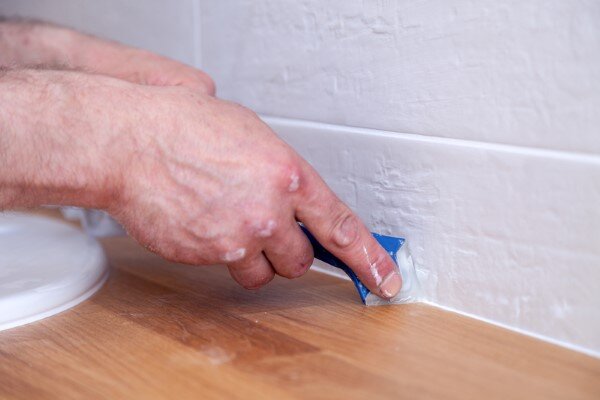
Caulking Spatula – Hardware stores sell caulking spatulas to help remove excess caulk. However, depending on the type of caulk being used, some people prefer to run a finger over the top.
Backer Rods – Backer rods are used to fill larger cracks before using caulk. This keeps you from applying the caulk in multiple layers.
There are many other caulking tools and gadgets on the market, like 3 in 1 tools, that assist you in your caulking job from start to finish. There are also caulk nozzles and a variety of different-shaped caulk spatulas. Depending on the size of your project, you may benefit from some of these tools.
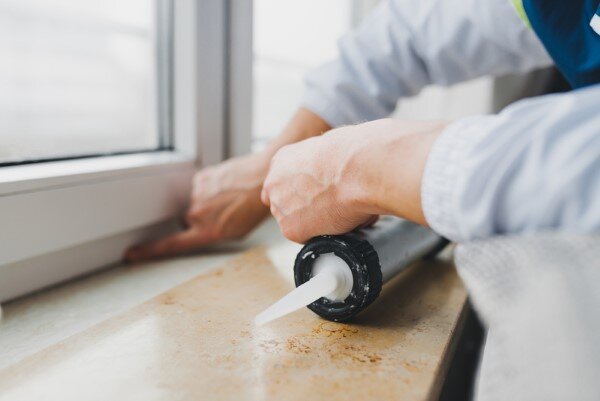
Applying Caulk
After you have selected the right caulk, the application is pretty straightforward. For small projects, you can get away with using small squeeze tubes of caulk. You also won’t need a caulking gun.
- Remove any existing caulk with a metal or plastic putty knife. Make sure the area is dry, clean, and free of any debris.
- Use a sharp utility knife to cut the tip of the caulk and pierce the inner seal. When cutting the tip, start small. You can always cut the hole larger if needed, and cutting it too large to start can lead to a mess.
- Load the tube into the caulk gun.
- Apply caulk in a long bead at a 45-degree angle.
- Smooth the caulk with a finger or other tool to create a clean seal.
- Clean Up: Replace the cap on the caulk, or use a nail to seal the opening of the tube. Use mineral spirits or soap and water to clean the area.
- Allow caulk to dry.
Final Thoughts
Whether you’re caulking around plumbing fixtures, tiles, or walls, the great thing about caulking is that it is an easy home maintenance project. Choosing the correct caulk is the most important step, particularly if you need something to be water resistant.
The application is simple. Cut the tip, load the caulk gun, apply a smooth bead, and wipe it smooth! No matter the project, you can have a professional-looking job with these caulking tips!